 Important Safety Information
« Click Here
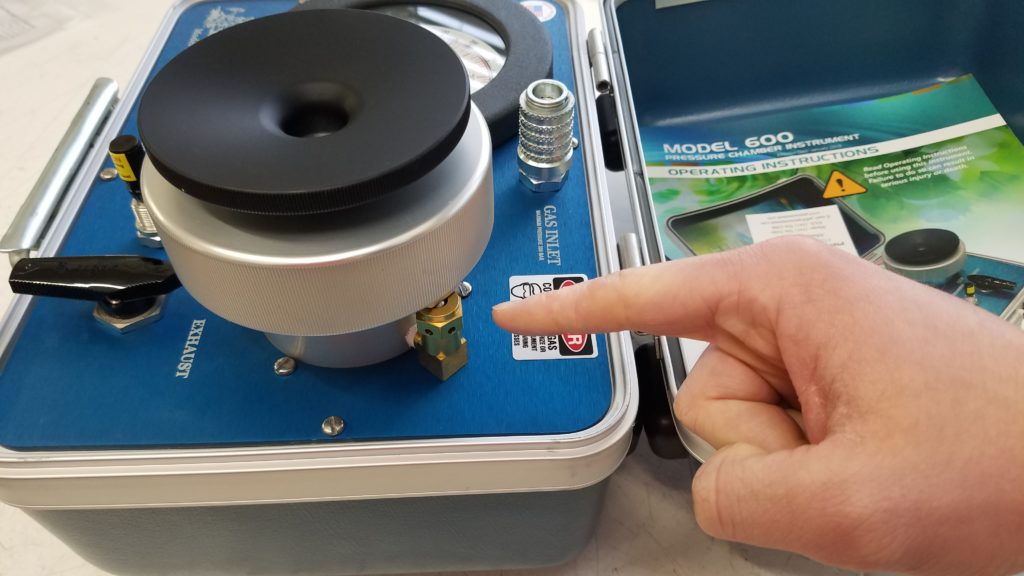
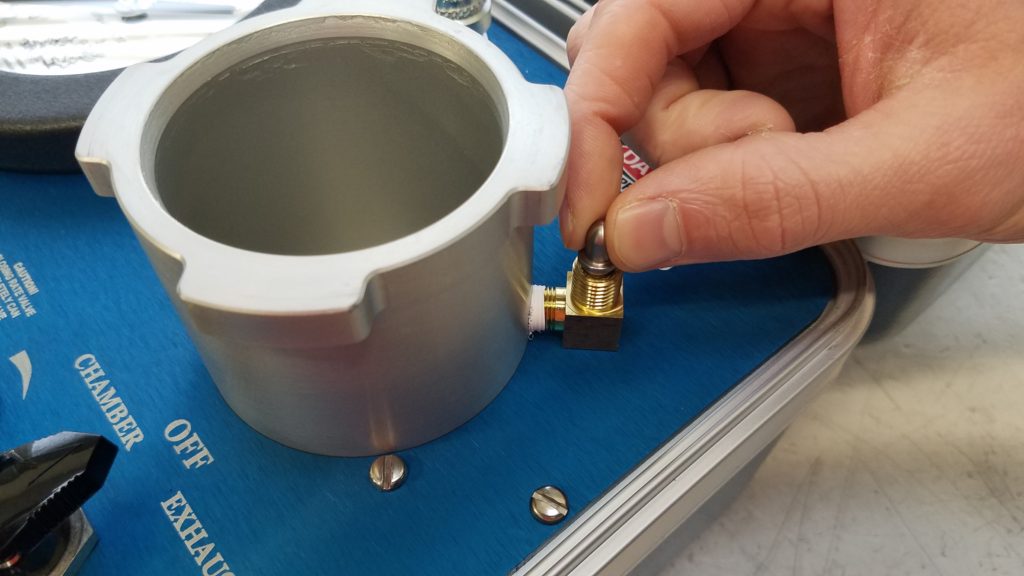
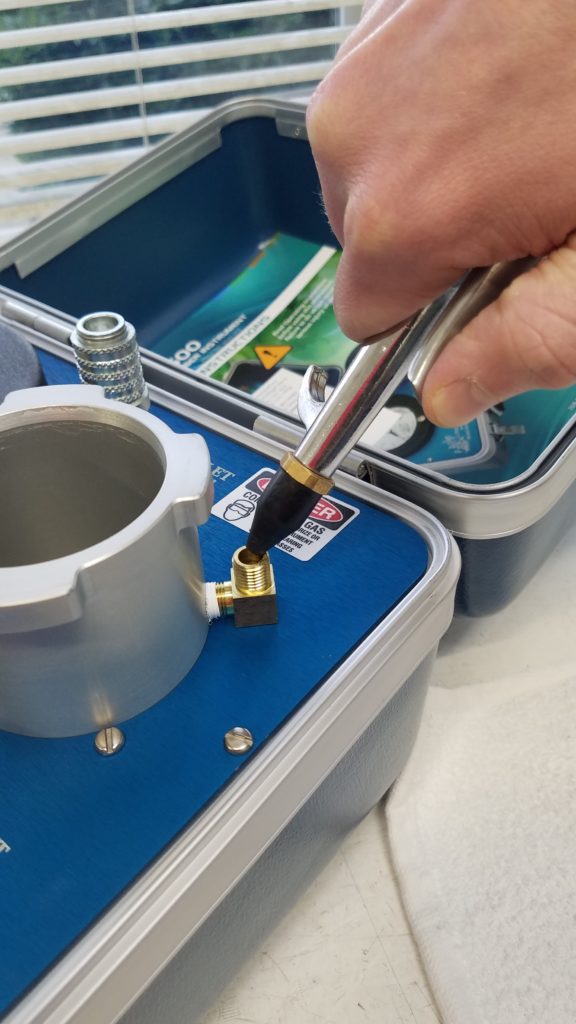
The Safety Valve is located under the Lid on the far side of the chamber.
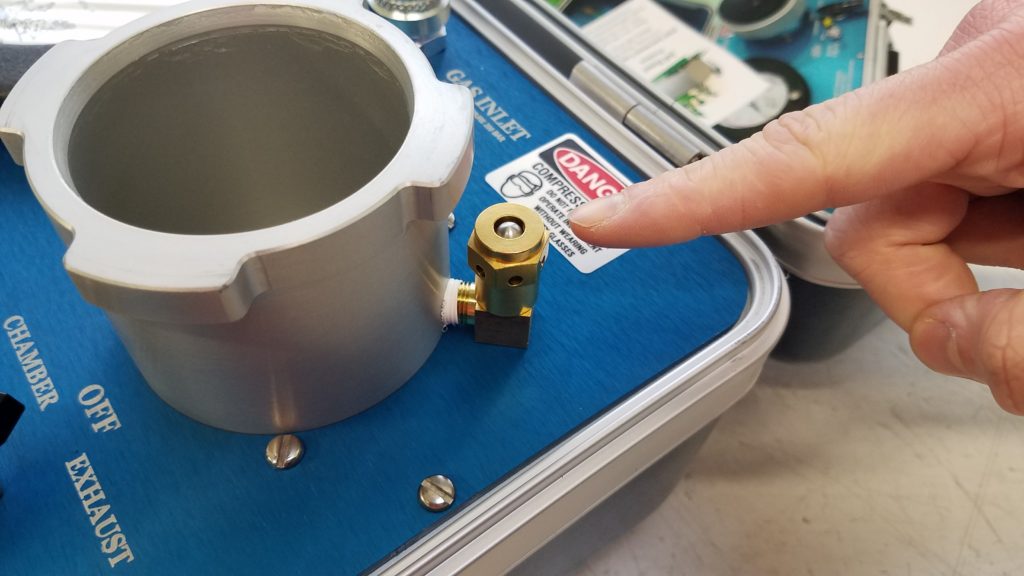
Remove the Compression Gland Lid to access the Safety Valve.
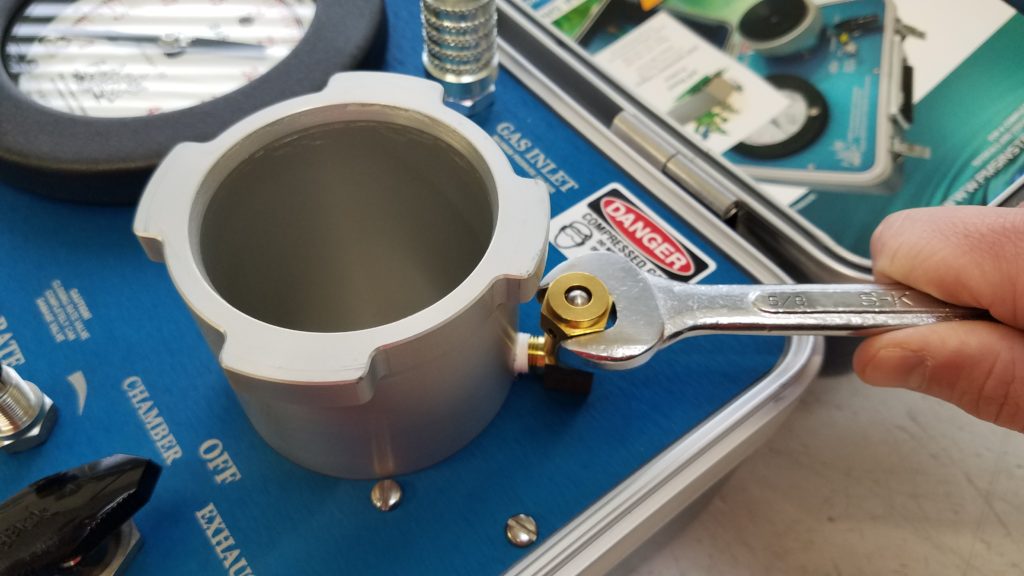
Turn the Safety Valve cap counter-clockwise using a 5/8 Inch wrench.
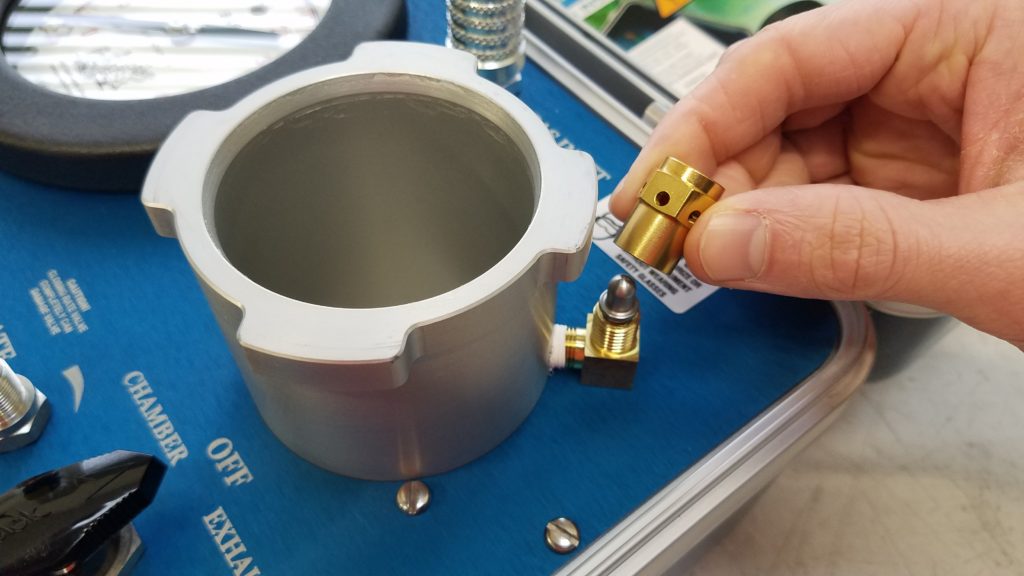
Unscrew and remove the Safety Valve cap.
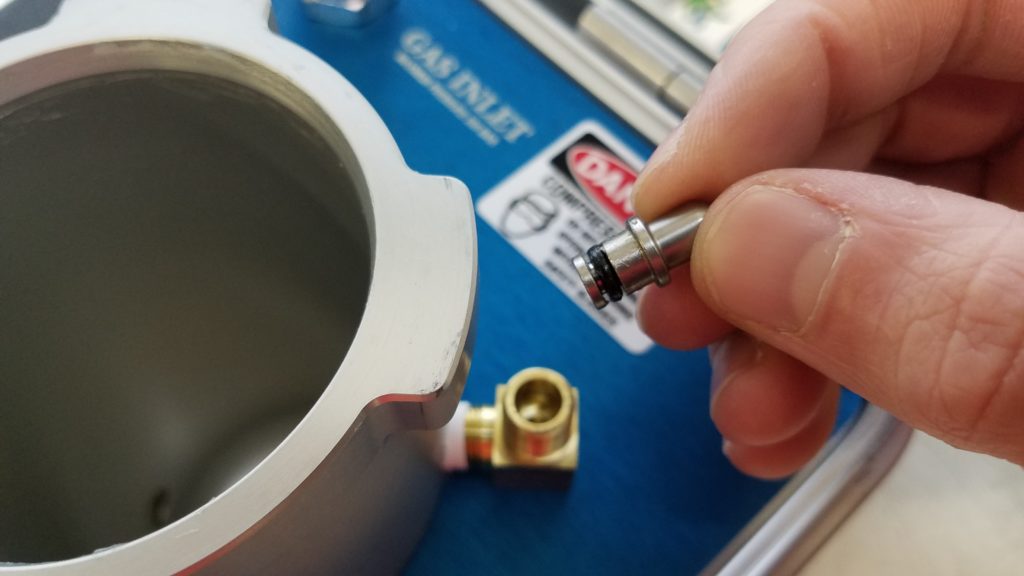
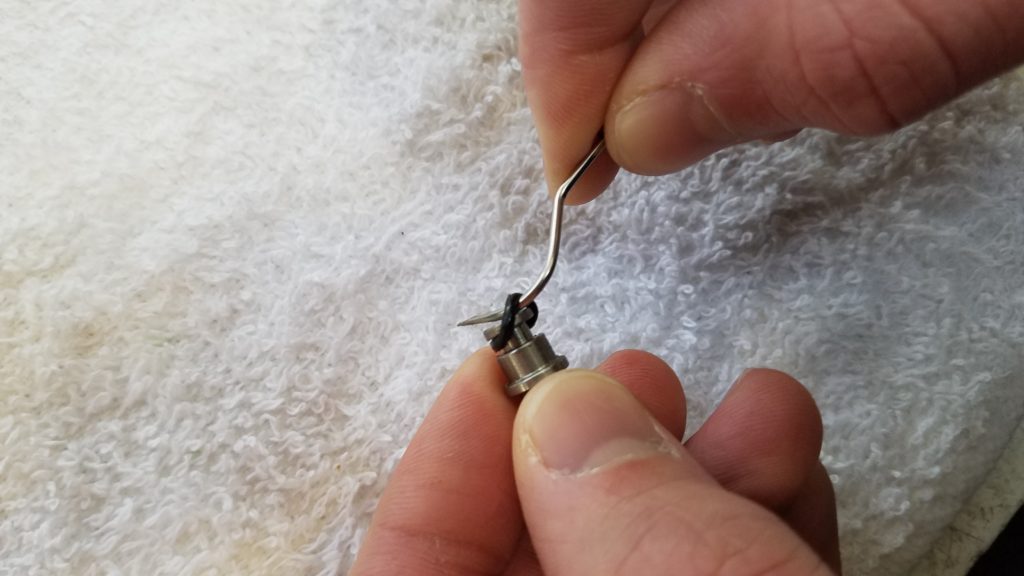
Lift the Safety Valve Piston out of the Safety Valve body.
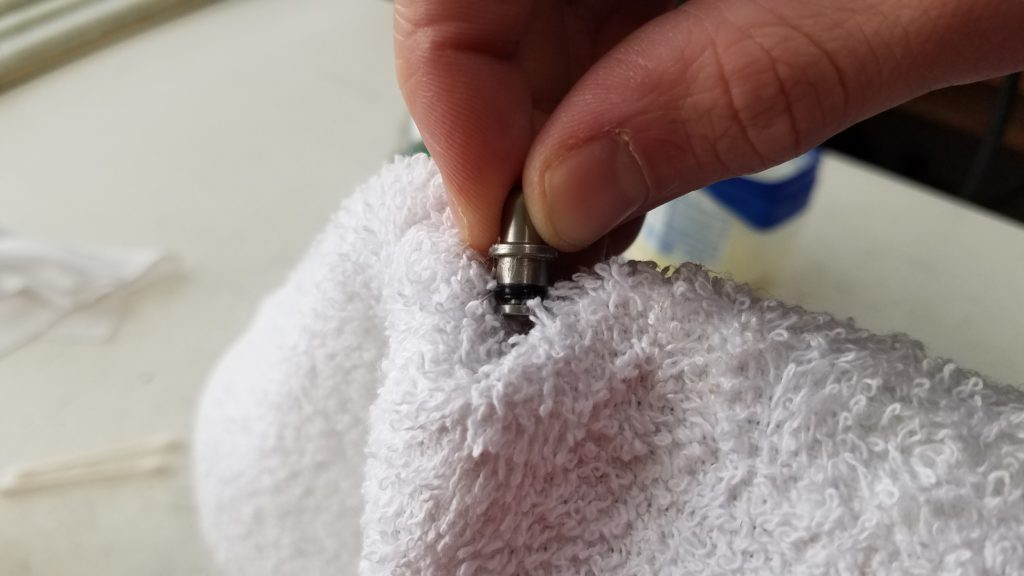
Wipe the Piston clean.
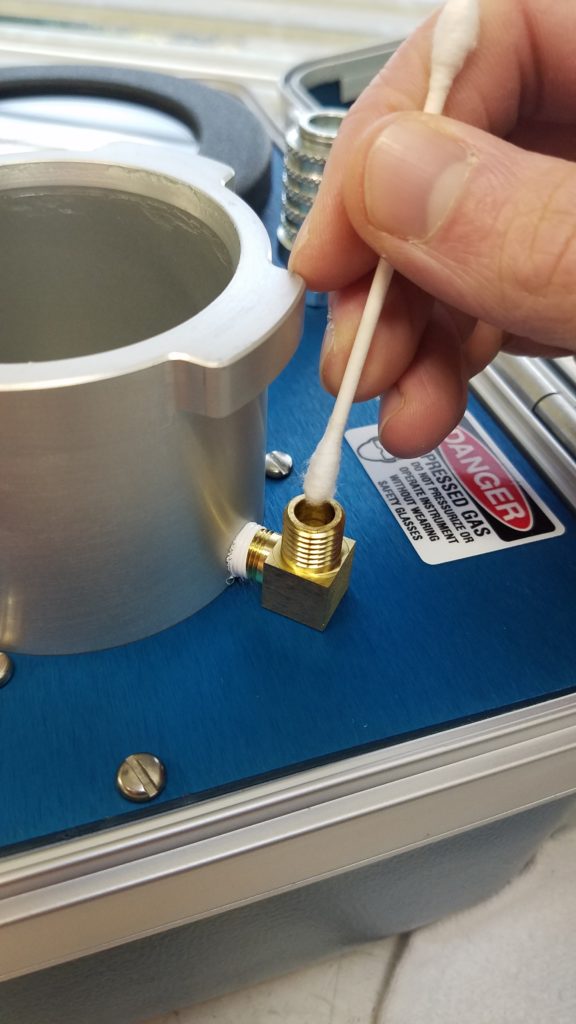
Use a cotton swab to clean inside the Safety Valve body. A common cleanser can help with this process.
Use compressed air to blow out any remaining dirt.
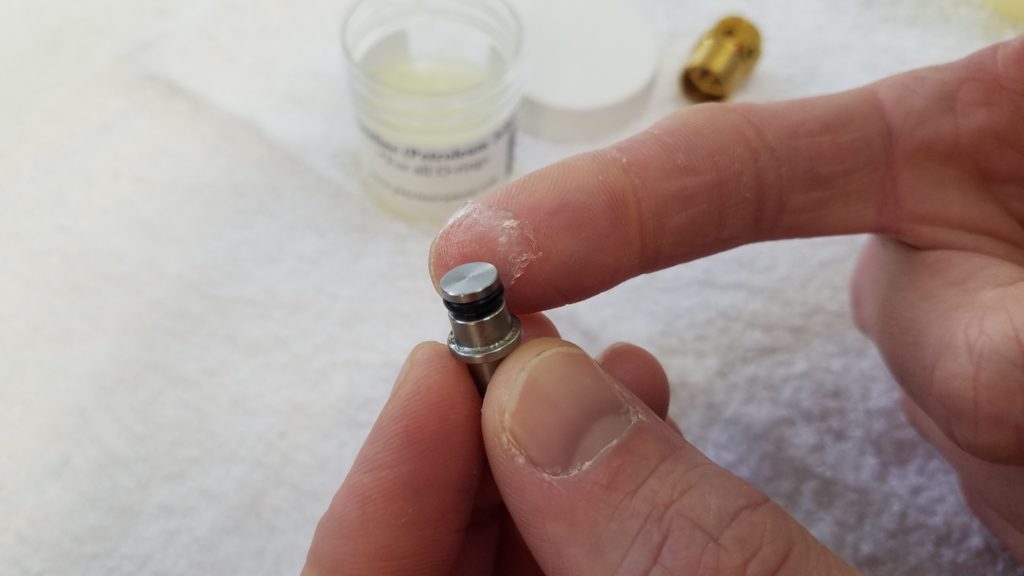
Lubricate the 006 O-Ring lightly with Petroleum Jelly.
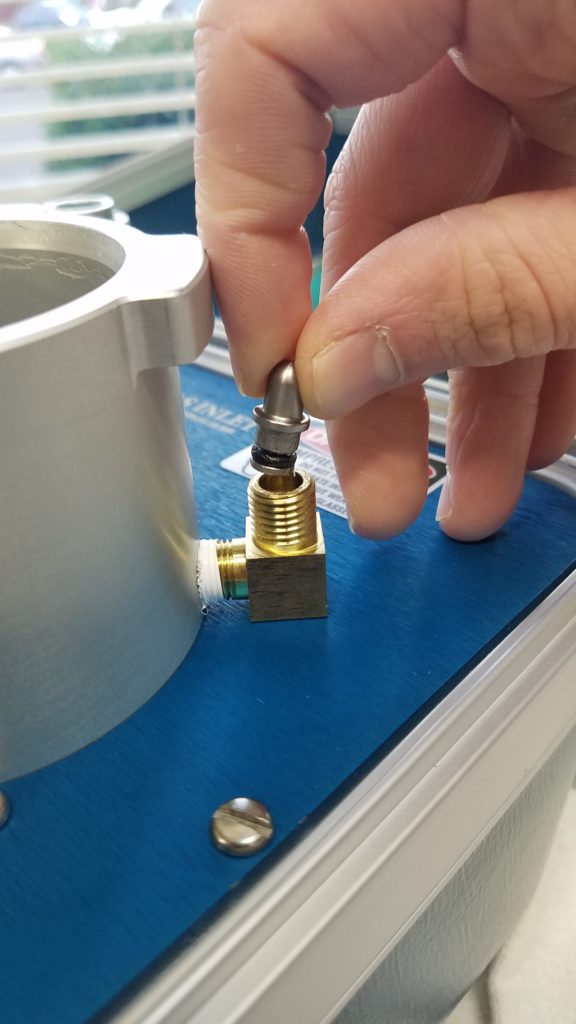
Insert the Piston back into the Safety Valve body.
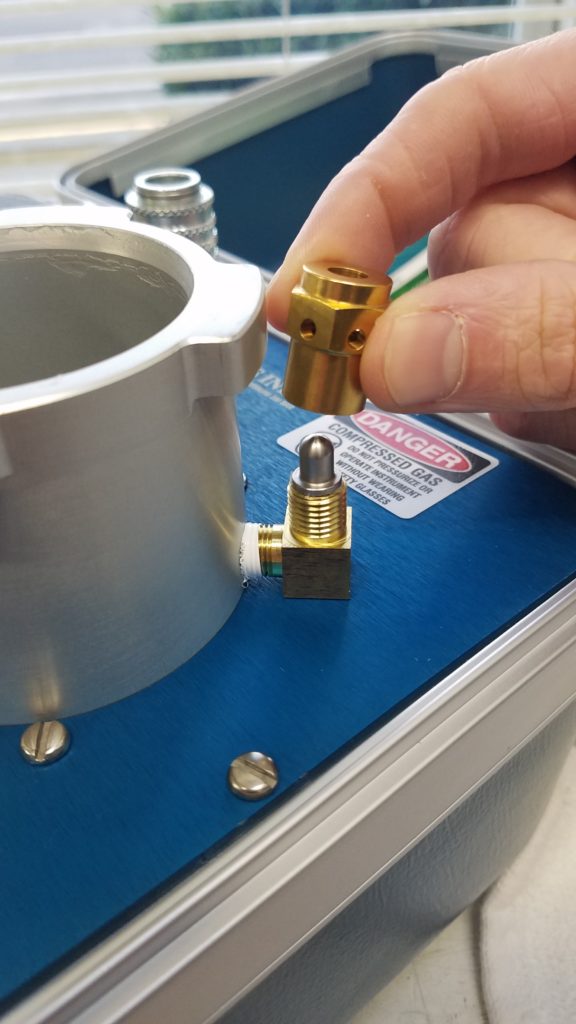
Place Safety Valve Cap over the Piston and thread on finger-tight.

Use the 5/8 Inch wrench to gently snug the Cap into place.
DO NOT OVER-TIGHTEN.
To ensure that the Safety Valve is working properly, pressurize the instrument and test the Safety Valve. You can see a tutorial on that process here.
If the valve is leaking or not activating properly, you might need to change the Piston O-Ring.
Use a metal probe to remove the O-Ring. Replace with a Size – 006 O-Ring. This should be a Buna-70 hardness. Ensure there is not debris in the O-Ring track. Reinstall and test.