 Important Safety Information
« Click Here
The preferred gas for pressure chamber use is welding grade nitrogen (N2) which is an inert gas and does not react with the plant sample. This has been the standard since the early 1960’s. If you do not already have nitrogen, a large “Supply Tank” can normally be bought or rented from a welding or gas supply store at minimal cost.
Filling the Portable Tank is easy but care must be taken while trans-filling high pressure nitrogen. You need the following 5 items in order to make a successful fill of the Portable Tank.
- Portable Tank
- Supply Tank (Large filling tank)
- 6 Foot Filling Hose
- Supply Tank Adaptor
- Safety Glasses
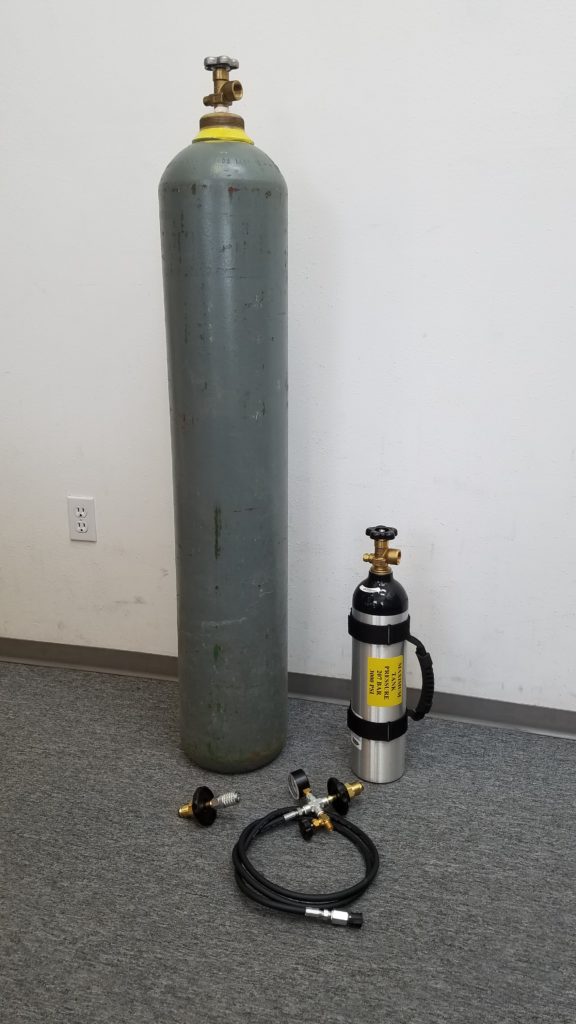
Supply Tank (left) – Portable Tank (right) – Supply Tank Adapter (bottom left) – 6-Foot Filling Hose (bottom right)
The quick-connectors in this tutorial are Safety Quick Connectors. If not properly connected, gas will not flow through the connectors. Do not attempt to decouple these connectors when they are pressurized. If you have any trouble connecting the connectors, check to ensure they are not already pressurized. For more clarification between the Safety Quick Connectors and Brass connectors, click here.
Next, you will need to connect the two tanks together using the Supply Tank Adapter and the 6-Foot Filling Hose.
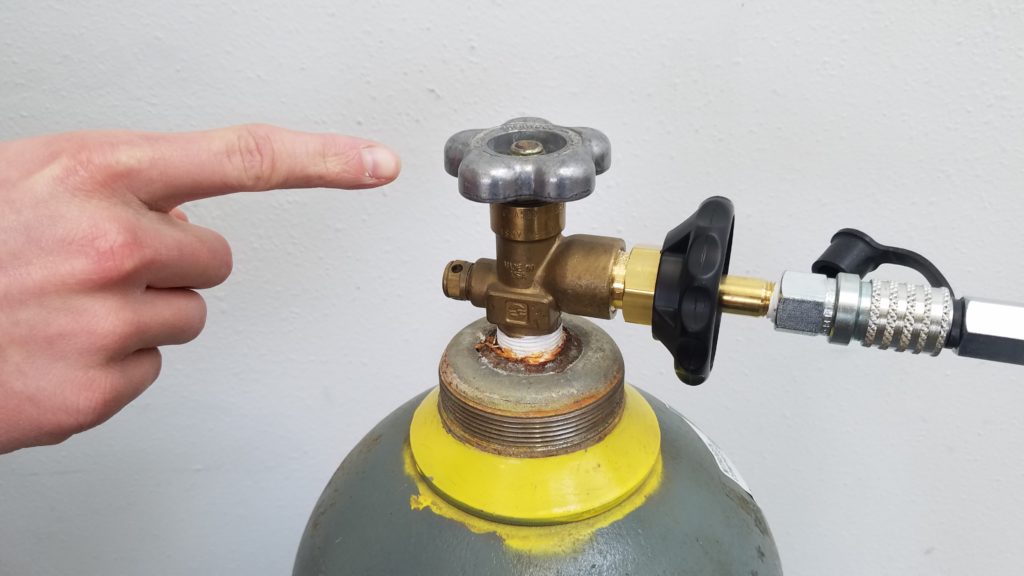
Connect the CGA-580 fitting (screw end) of the 6-Foot Filling Hose into the Portable Tank. Tighten Hand Nut.
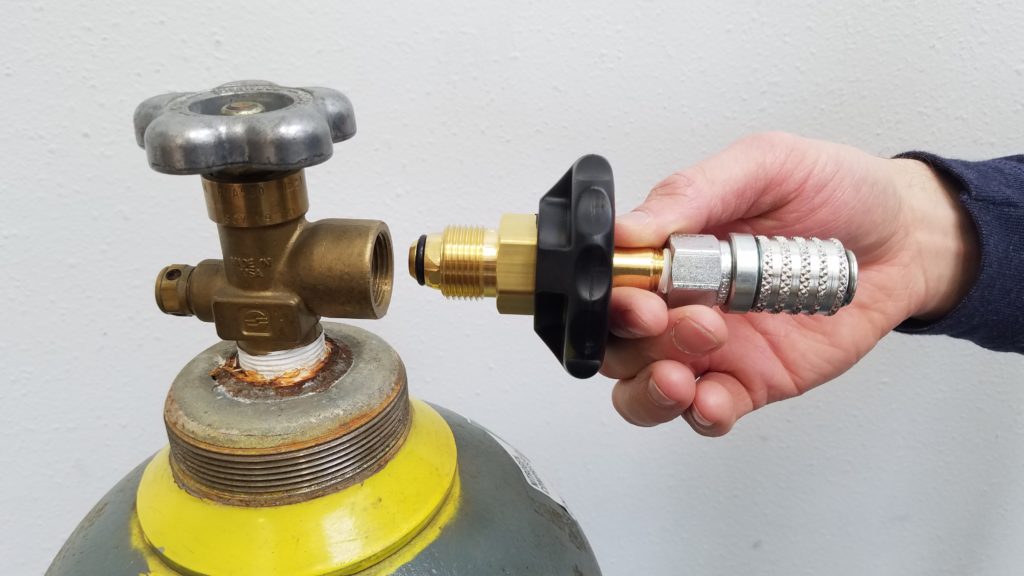
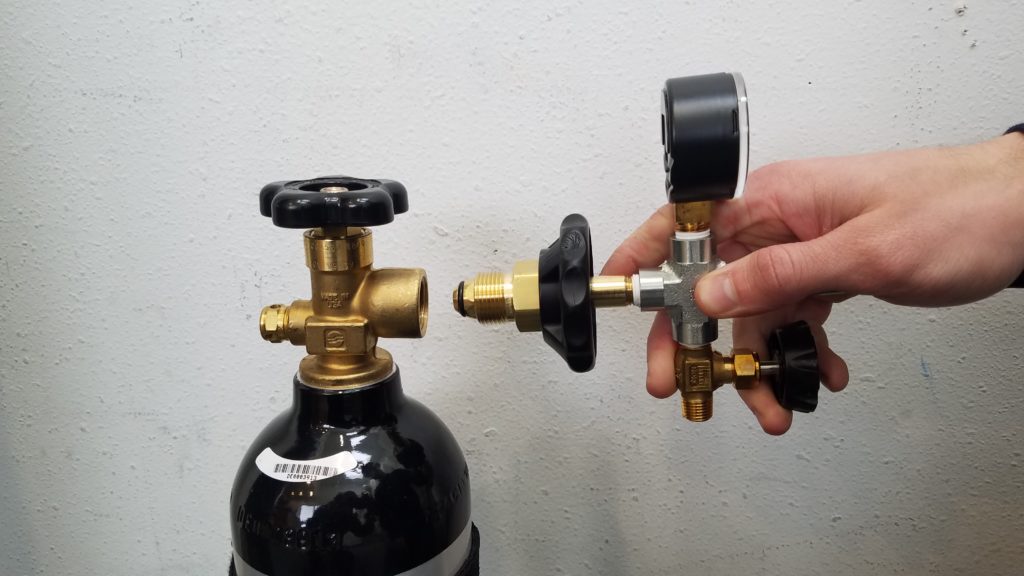
Screw the Supply Tank Adaptor into the Supply Tank.
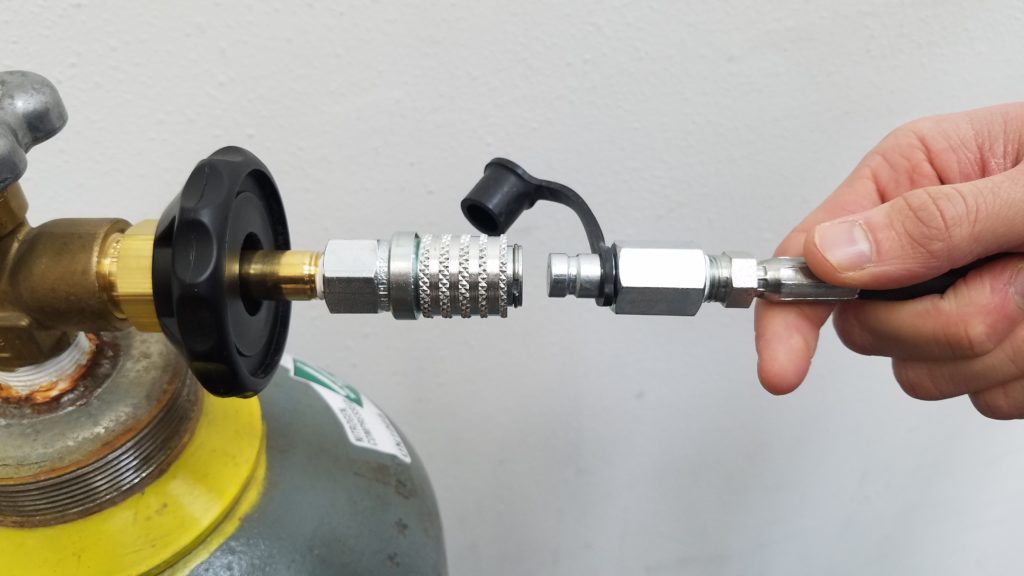
Connect Supply Tank Adaptor and 6-Foot Filling Hose by pressing the two connectors together until you hear and feel them connect. Pull back gently on the hose to ensure proper connection.

The tanks should now look like this.
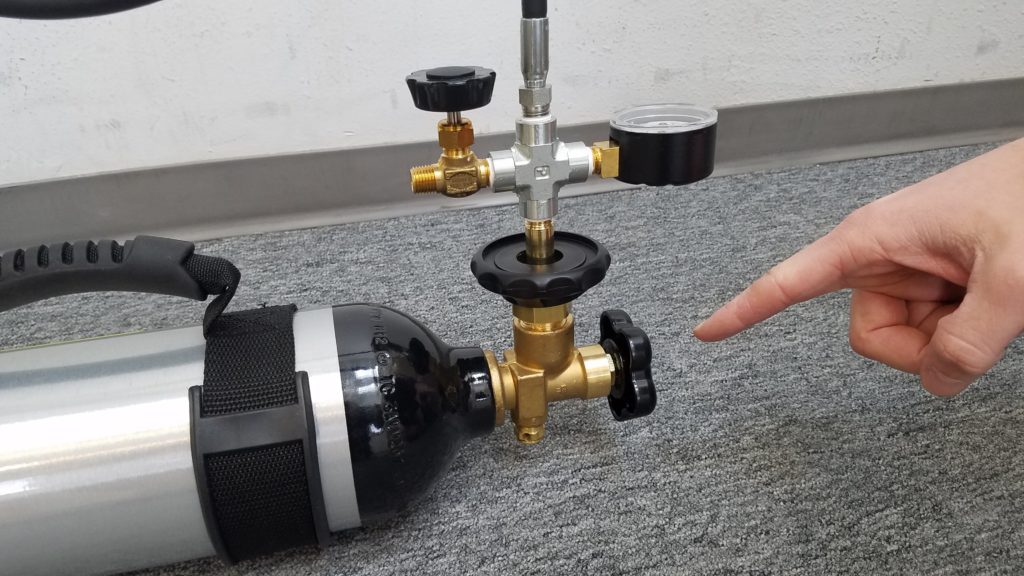
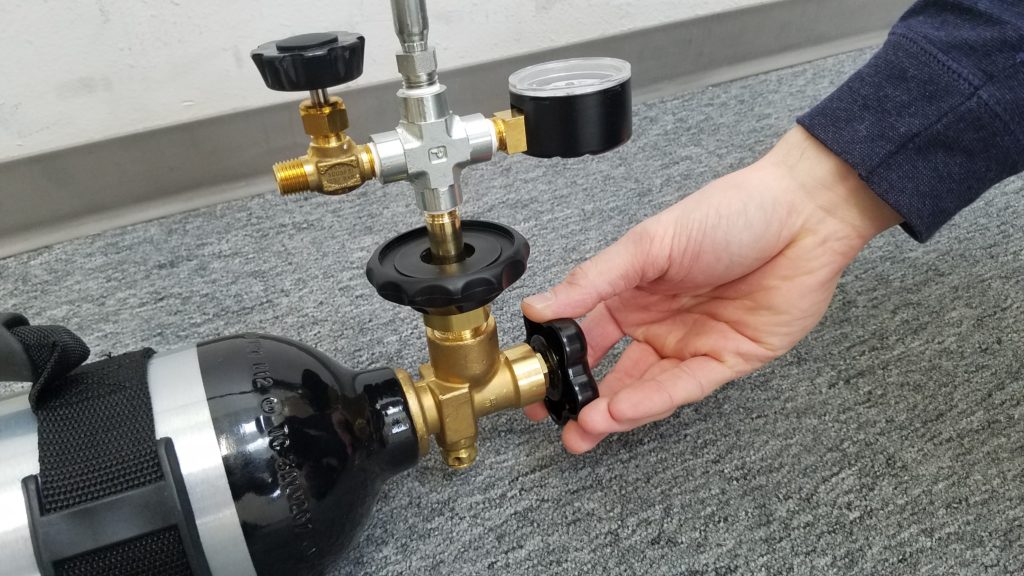
Ensure that the following valves are all shut before proceeding:
Now you are ready to start filling
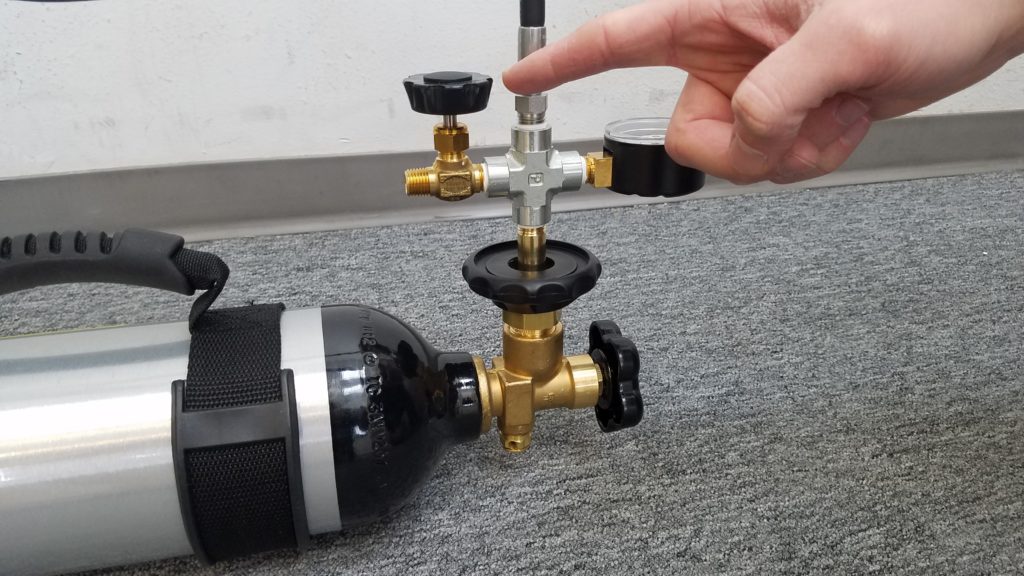
Start by opening up the Supply Tank Valve completely
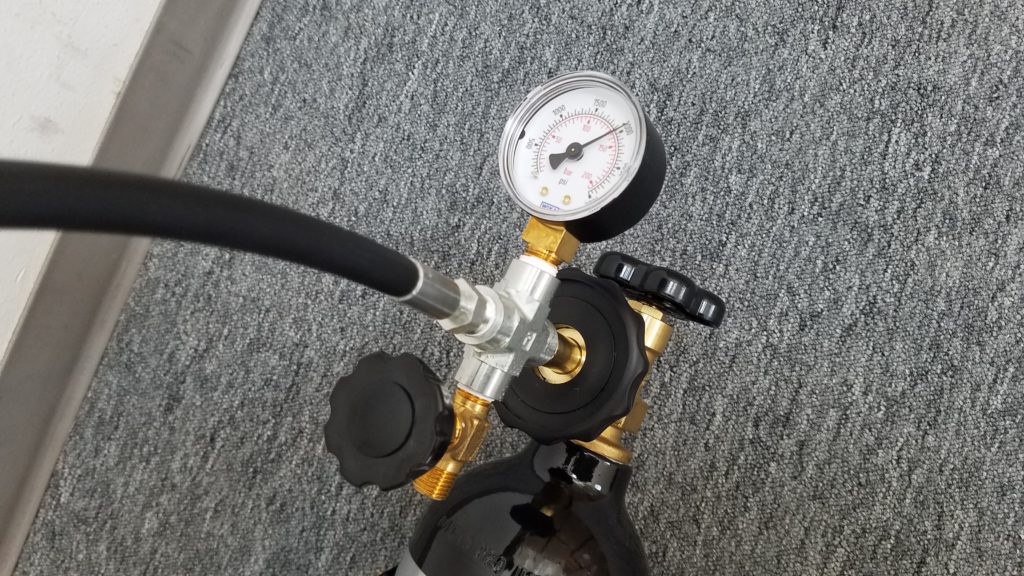
This will allow gas to flow to the Portable Tank and pressure will register on the gauge
***IMPORTANT***
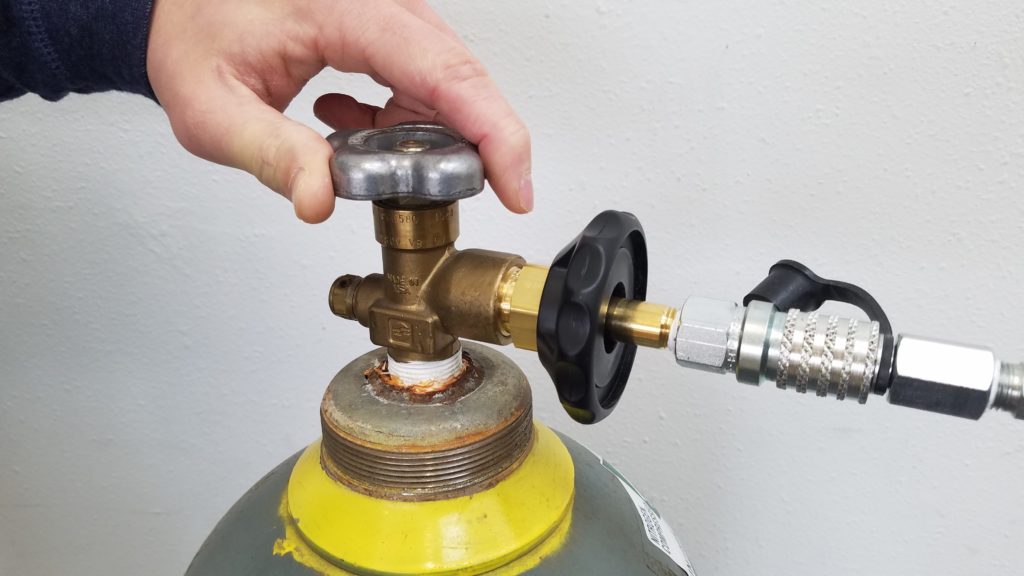
BARELY OPEN THE VALVE
Allow the nitrogen to slowly fill the Portable Tank
You will hear the nitrogen as it fills the tank. You should allow 2-3 minutes to fill the tank. As the pressure equalizes, continue to open up the valve a little bit more. Continue this process until the pressure has equalized completely. If you open the valve up too quickly and let too much gas into the tank – the valve will become HEATED and could have problems or fail.
When the pressure has equalized, close the valve on the Portable Tank first, then close the Supply Tank valve. The 6-Foot Hose Purge Valve will allow you to let the pressure escape from the hose. Now you can disconnect your hose from the Supply Tank Adapter and connect it to your Pressure Chamber. If you are having trouble disconnecting any quick-connectors, make sure there is no pressure in the 6-Foot Filling Hose.